AD Settings
This subsection allows you to specify the Active Directory credentials to allow logging in to non-domain computers

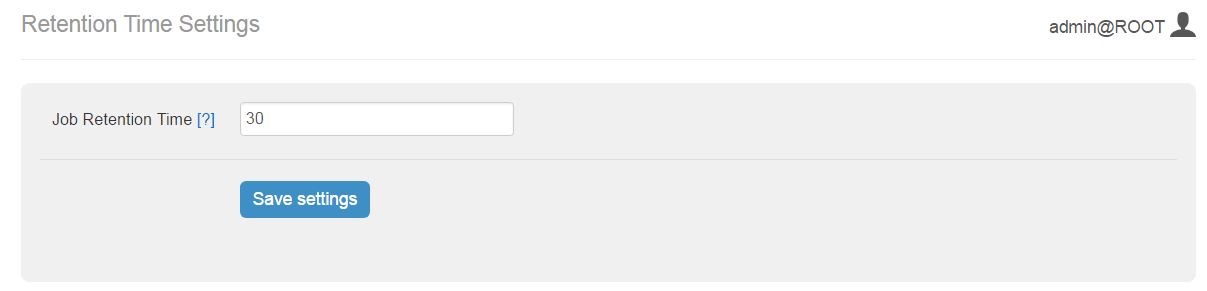
Retention Settings
This section allows you to set retention time (in days) after which a job will be removed from the list.
Portal Customization
These settings allows you to customize you AIMMS PRO Portal where you can upload Image for Login page and your Company logo. You can also specify in-house support contact details which will be displayed on all Portal Pages. (see below).
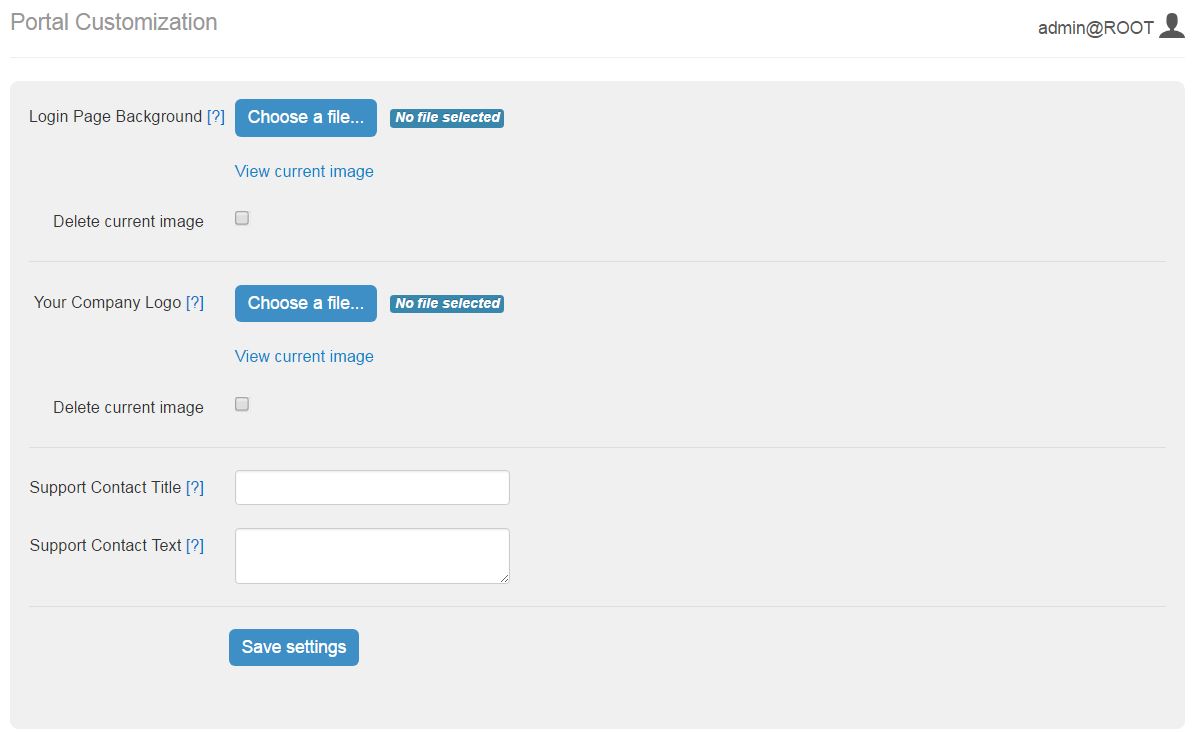
You need to specify following fields.
Login Page Background - Background Image for the left-hand side of the login screen (JPEG, PNG or GIF). Image width should be between 640 and 2500 and image height should be between 800 and 2500.
Your Company Logo - Logo for all portal pages except login page (JPEG, PNG or GIF). Image width should be between 10 and 120 and image height should be between 10 and 80.
You can view this image by “view current image” link and can delete current image by selecting “Delete current image” check box.
Support Contact Title - The title for the support contact block (plain text).
Support Contact Text - The text for the support contact block. This can contain any HTML.
The button Save Settings validates and save the settings. You must restart the services in order to see these changes on Portal.
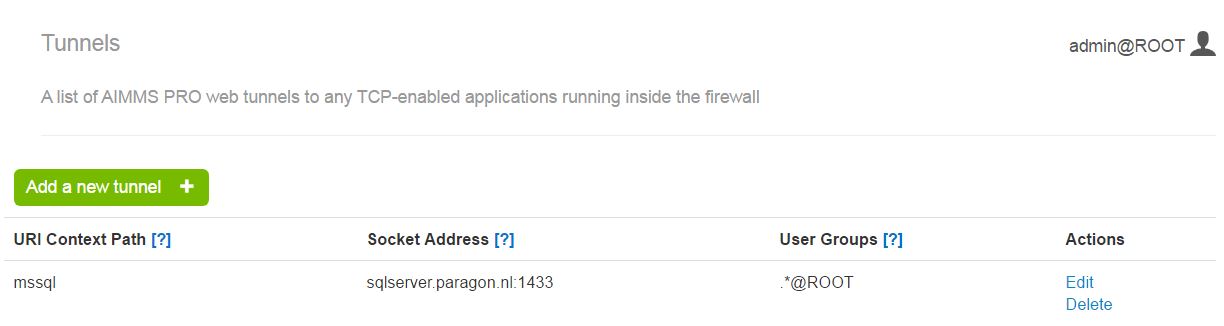
Tunnels
AIMMS PRO allows the AIMMS PRO Client to connect to the AIMMS license server and the AIMMS PRO backend via a websockets proxy running on the web port of PRO (the only port that needs to be opened in case PRO is running behind a firewall, by default 8080). By using the PRO Configurator to enable the tunneling functionality, any port and host reachable by PRO (but not by the client) can be made available via the websockets proxy.
Queue Priorities
A list of priorities for PRO jobs that match the criteria specified in the priority rule.
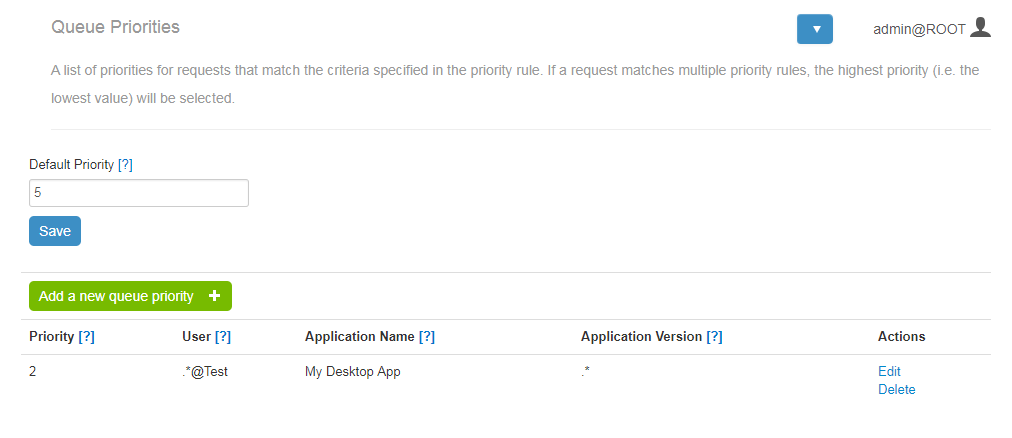
If a request matches multiple priority rules, the highest priority (i.e. the lowest value) will be selected. Here you need to enter the Default priority – the priority for all requests that have no other matching priorities. You may also add as many specific priorities as needed. For each of them you need to specify the following:
Priority: a lower number means a higher priority.
User: the user that runs the application. Use .* for all users of all environments, .*@ for all users of a specific environment, or @ for a specific user and a specific environment.
Application name: the name of an application. Use .* for all applications. Application names are case sensitive.
Application version: the version of an application. Use .* for all application versions. Application versions are case sensitive.